
Handicrafts made from pine cones often have a natural and rustic flavor, which is their unique feature. You don’t have to buy pine cones at a craft supply store—you can find them fallen in your yard, at a nearby park, or in the woods. Unfortunately, pine cones collected outdoors are usually dirty and full of bugs, so they are prone to rot. Just a little cleaning and drying can extend the life of your pine cones. If you want to preserve these gifts of nature for a long time, you can seal them with varnish, paint, or beeswax.
Soak the pine cones
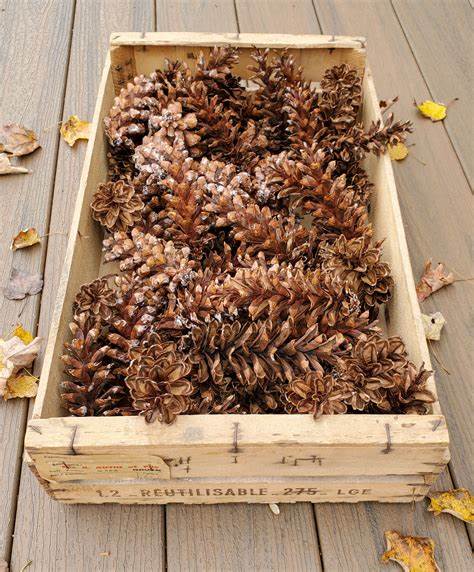
Collect pinecones. You will find that some pinecone scales are open and some are still closed; either way can be used. The latter type of pine cone will open automatically during the drying process.
- Store-bought pinecones are clean and ready to use.
Remove impurities from pine cones. These impurities include seeds, moss, and pine needles. When cleaning, you can use tweezers or a brush. The more meticulous the cleaning, the better; soaking will make the pine cones cleaner.
Make a solution of vinegar and water. Mix 2 parts water and 1 part white vinegar in the sink, tub, or bucket. The final amount of water and white vinegar is determined by the number of pine cones and the size of the container.
- You can also soak pinecones in a solution of 4 liters of water and 1 tablespoon of mild dishwashing detergent.
Soak pine cones for 20 to 30 minutes. The pine cones must be completely submerged in the liquid. If they float, weigh the pinecones down with a heavy, wet towel, pot lid, or plate. Soaking may cause the split scales of the pine cone to close again. Don’t worry, the scales will open up again after the pine cone dries.
Scoop up the pine cones and place them on newspaper to dry overnight. Choose a well-ventilated area to dry pinecones. If you don’t have newspapers, you can also spread the pine cones on a paper bag or an old towel.
Dry pine cones
Preheat the oven to between 95°C and 120°C. The drying temperature does not need to be too high, as long as it can dry the pine cones thoroughly and allow the soaked scales to open again.
Line a baking sheet with parchment paper and arrange the pine cones. If you don’t have baking paper, use tin foil instead. In order to allow hot air to flow better between the pine cones and provide more space for the opened fruits, a certain distance should be kept between each pine cone when placed.
Bake the pine cones until the scales open. This process may take 30 minutes to 2 hours. Check frequently during baking to prevent the pine cones from catching fire. When the scales are all open and the surface of the pine cone becomes shiny, you can turn off the oven.
- You can also let the pinecones dry naturally and eventually the scales will open up. This process usually takes 2 to 3 days, so if you don’t have that much time, dry it in the oven.
Place the pinecones on a wire rack to cool. It is recommended that you wear ovenproof gloves and use tongs or a spoon to move the pinecones. Dried pine cones are fragile, so be careful when handling them.
It will take at least ten minutes for the pinecones to cool. Once the pine cones have cooled, they can be colored and used to create decorations; you can also further seal the cones. Baking melts the resin, forming a shiny protective layer on the surface of the pine cone that acts as a natural preservative. If you want to further preserve your pine cones, complete the remaining steps.
Complete sealing and anti-corrosion treatment
Prepare the site for handling pine cones and decide how to handle them. Whether you spray, brush, or simply dip the pine cones in the sealant, you will need to cover your work surface or table with newspaper. If you use canned spray paint, it’s easier to do it outside. As long as the site, tools, and materials are ready, you’re good to go.
Spray painting is the quickest and easiest method. First, lay the pine cones sideways, and then spray the pine cones evenly with yellow-resistant varnish. Let it dry for ten minutes before flipping the pinecones over and spraying the other side. After spraying both sides, you need to wait at least half an hour before spraying a second time.
- There are many different types of sealant spray paint: matte, satin, and gloss. You can choose according to your preference, but matte paint has the most natural effect.
- If varnish is not available, use hair styling spray instead.
If you want your pine cones to last longer, it is recommended to choose marine paint. This paint can be purchased at hardware stores or home improvement stores. Have a pair of disposable gloves and a cheap disposable bristle brush ready. Put on your gloves, hold the pointed end of the pine cone in one hand, and start painting with the other. Brush everything except the bottom. After 30 minutes, hold both sides of the pinecone and brush the remaining ends. After brushing, lay the pine cones sideways to dry.
- You can apply marine paint several times, but you must wait for the last paint to dry before applying it again.
- Another method is to tie a string around the smaller end of the pinecone. Dip the pine cones in the ship’s paint, then lift them to remove excess paint, then hang them to dry.
If you want a thicker seal, you can dip the pinecones in paint or varnish. Just tie a piece of string or thin wire to the smaller end of the pine cone, and you can lift the pine cone and dip it into the paint. When you take it out, let the pine cone stay above the paint can for a minute to drip off the excess paint, and then hang the pine cone in a suitable place to dry.
- Place newspaper or a tray under the pinecone to catch any paint drippings.
- Keep in mind that this method may cause the pinecone’s scales to close up again.
- It is recommended to dilute paint or varnish that is too viscous with water. 1 part of water is required for every 4 parts of paint diluted.
In addition to sealant, you can also soak pinecones in beeswax. Start by tying a string around the top of each pine cone and melt enough beeswax in the slow cooker. Dip the whole pine cone into the melted beeswax, then pick it up and quickly dip it into a bucket of cold water prepared in advance. This step may need to be repeated several times for the beeswax to coat the pinecone evenly.
- Melt the beeswax in your slow cooker on the highest setting. It will take 2 to 3 hours for the beeswax to melt completely. If you don’t have a slow cooker, you can also melt the beeswax in a double boiler on the stove.
- Wait for the beeswax to solidify before placing the pinecones down. This process should take at least three minutes.
- The more you soak, the more noticeable the wax will be on the pinecones. Eventually, the pinecones will turn yellow or white.
Tips
- Be sure to wait until the sealant is completely dry and stable before using pine cones for crafting or display. It is recommended to carefully read the detailed instructions on the sealant can regarding application and drying times.
- Most store-bought pinecones have been cleaned, insecticides, and sealed to preserve them.
- The processed pine cones can be used to decorate garlands or fill vases.
- Tie small pinecones to the string for decoration.
- Place large pinecones on your mantel or table.
Warnings
- Do not place pine cones wrapped with sealant paint in places with high temperatures or open flames, as sealant spray paint or varnish is flammable.
- Be sure to have someone supervise while drying pine cones. Pine cones dry quickly and catch fire easily.